Every year, campus organizations, academic departments, alumni, Alva merchants and community groups build theme-centered floats for the Homecoming parade. This page walks through how to build one, from bare trailer to finished float. Entry forms, float categories, prizes and reimbursement details are on the Homecoming page.
2026 Homecoming
Theme: Red, White and Rowdy
Dates: Oct. 8, 9 and 10, 2026, in Alva
Opponent: Henderson State University of Arkadelphia, Arkansas
Mascot: Reddies
Colors: Red and Grey
Deadlines
Noon, Wednesday, Oct. 7 — float entry form, including a sketch or design for approval, due to Dr. Shannon Leaper, J.W. Martin Library.
Below you will find the online float entry form or a fillable PDF document that can be emailed or printed and sent to the float chair. You are required to download float rules below which disclose information on where floats can be built, float specs and more.
Noon, Friday, Oct. 23 — receipts verifying expenses due to Tara Hannaford, Financial Aid Office, Herod Hall room 113, for organizations approved for reimbursement.
To qualify for reimbursement, an organization must review this workshop and turn in a float entry form with a sketch or design for approval by the deadline above. Every group entering the float competition must be judged — no walking groups, meaning a vehicle with signs and walkers but no float.
Choosing a trailer
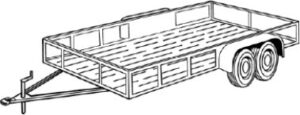
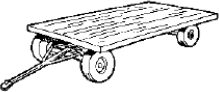
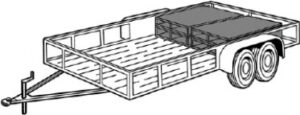
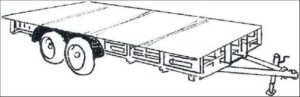
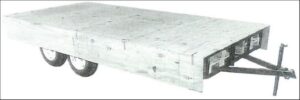
Your float must be built on a trailer at least 12 feet long. Two kinds work well.
A low-boy trailer sits closer to the ground and has side rails to build against.
A flat hay trailer gives you an open deck and more room for a tall structure.
Building the deck
1. Set your pallets
Pallets build a partial or full sub-structure that raises the platform of the float. Fasten them firmly to the bed of the trailer before anything goes on top of them.
2. Lay your plywood
Sheet plywood over the pallets gives you a platform for props and an area in the bed where riders can stand or sit.
3. Apply the sides
Attach sides to the deck using L-shaped brackets, available at most hardware stores. Leave 14 inches from the bottom of the side deck to the ground.
Decorating materials
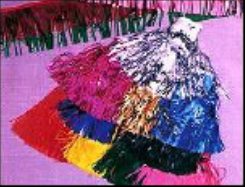
Fringe — long cut strands that hang from the bottom edge of the float.
Festooning — twisted garland used to trim edges and hide seams.
Pomps — paper tufts stuffed into chicken wire to build up color and texture.
Vinyl floral sheeting — opaque, matte finish. Cheaper, and it holds its color in direct sun.
Metallic floral sheeting — reflective foil finish. Reads better from a distance and photographs well.
Building a structure
A float needs more than words on the skirting and people standing on a trailer. Build something.
Frame the object out of wood, PVC pipe or chicken wire.
String chicken wire across the frame to fill out the shape.
Cover it with cloth, papier-mâché, paint, pomps or tissue paper.
Fasten the frame securely to the base.
Chicken wire and papier-mâché
Shape chicken wire into the form you want. Blend flour and starch, dip strips of newspaper or butcher paper into the mix, and paste them onto the wire. Let it dry completely, then spray paint it.
Tips
Movement catches people’s eyes — moving parts, sound and smoke are all encouraged.
Balloons are cheap and fill space fast.
Make it colorful, and use original decorations: umbrellas, music, anything unexpected.
Have your members dress in theme and walk in front of and behind the float.
Rules and regulations
The float must be built on a trailer at least 12 feet in length.
The float can be no taller than 16 feet.
The float must have a design, and the group must actually build something — a structure on the trailer made from chicken wire, cardboard or similar.
The float needs more than words on the skirting and people standing on a trailer.
The float should be pomped with napkins, weaved with tissue paper, or covered with floral sheeting, fringe or similar material.
Skirting on the trailer is required. The wheels of the trailer should not show.
The float must follow the theme.
The Homecoming theme and the organization’s name should both be displayed.
All exceptions to these rules must be pre-approved by the Homecoming Float Committee.
Don’t let the requirements hinder your creativity. If you have an idea, ask whether it will work.
What not to do
This is not a float. There's no trailer skirting, no structure, no decoration and nothing identifying the organization or the theme. An entry like this can't be judged.
Supplies you might need
Staple gun
Nails
Wire
Chicken wire
Construction-grade wood and plywood
Final reminders
Plan ahead.
Organizations can team up on a single float.
Reserve the armory for build space — a deposit is required.